How to Set Up a Home Studio for Streaming: Equipment Checklist
Setting up a home studio for live streaming can effectively enhance your broadcasts’ overall quality. First, you need a reliable computer or laptop with decent specifications capable of handling streaming software. Look for a machine with at least an Intel i5 processor, 16GB RAM, and a dedicated graphics card. Such equipment ensures smooth video encoding and allows you to multitask efficiently during live streams. Additionally, invest in an external hard drive or SSD for storing your video files and backups, as this can save your streams without any hassle. Don’t forget to keep the operating system and software updated, which enhances performance and security while streaming content. Choose a user-friendly streaming software such as OBS Studio or Streamlabs, which offers various customization options. Understanding your device’s input and output settings can assist in configuring the best settings tailored for your streaming preferences. Finally, test your setup before going live to ensure that all gear is functioning properly and stream quality meets your expectations. This initial investment in quality tools will set the stage for successful streaming in your home studio setup.
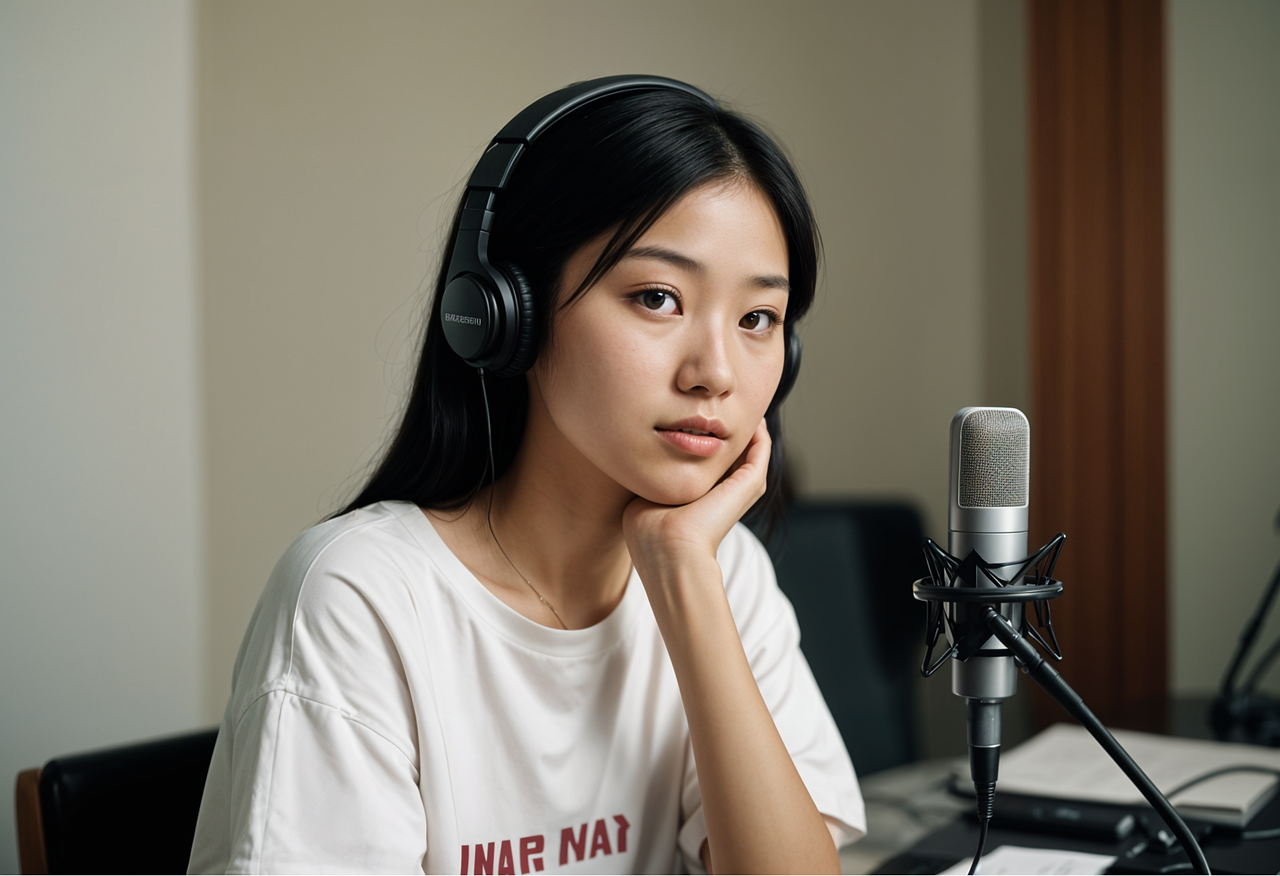
One crucial aspect of your home streaming studio is audio equipment. High-quality audio significantly impacts viewer experience, which is often overlooked. Invest in a good microphone, such as a USB condenser mic or a dedicated XLR microphone and mixer setup. A USB microphone is user-friendly and accessible for beginners because it connects directly to your computer without extra equipment. Moreover, acoustic treatment in your studio can absorb excess echo and improve sound clarity. Consider soundproofing techniques like using foam panels on walls or soundproofing curtains to create an ideal audio environment. Additionally, a pop filter is a great addition to your microphone setup, which reduces unwanted plosive sounds while broadcasting. Always monitor your audio levels using headphones to ensure a balanced sound. It’s wise to conduct sound checks before streaming to adjust levels and avoid sudden audio fluctuations. Being attentive to details will help your live streaming content sound polished and professional. Great audio keeps viewers engaged, allowing them to focus on what you are saying without distractions caused by poor sound quality.
Video Equipment Choices
For video quality that captivates your audience, investing in a quality camera is essential for your home streaming studio. While many streamers rely on existing webcams, a dedicated camera can enhance the production value significantly. A DSLR or mirrorless camera with good video capabilities will provide sharp resolution and better low-light performance. Check if the camera has a clean HDMI output, enabling uncompressed video feed to your streaming device. Additionally, consider using a tripod to stabilize your camera for steady video during your stream. The right lighting can have a profound effect on video quality as well; choose softbox lights or LED panels that provide even lighting without harsh shadows. Make sure to adjust the lighting according to the time of day and surrounding environment. Natural light can also work well but should be supplemented with artificial lighting to maintain consistency. When setting up the camera, pay attention to the background as it enhances your on-screen appearance. A clean and professional backdrop can engage viewers better, thus elevating your stream’s overall visual quality.
Another important component in your home studio is reliable streaming accessories that enhance both functionality and production quality. An essential accessory is a green screen, enabling dynamic backgrounds or professional-looking visuals while streaming. Properly setting up a green screen adds a professional touch, allowing for customizable streaming environments. Accessories such as a ring light or adjustable LED lights can improve your appearance on camera by providing soft light, thus reducing shadows. Furthermore, don’t overlook the importance of cables and connectors; investing in high-quality HDMI and USB cables helps maintain video and audio integrity during your live broadcasts. A cable management system will keep your workspace tidy and let you navigate easily without trailing wires hindering movement. Additionally, consider using a stream deck, which allows you to control scenes, audio, and other functionalities seamlessly. This device will simplify your live streaming experience, making it more enjoyable for both you and your audience. Investing in the right accessories will bolster your overall streaming setup and create an efficient and captivating environment.
Internet Connection Requirements
A stable internet connection is paramount for effective live streaming from your home studio. To ensure seamless broadcasts, opt for a wired Ethernet connection rather than relying on Wi-Fi, which can be unreliable. A minimum upload speed of 5 Mbps is recommended for HD streaming, while 10 Mbps or higher is ideal for 1080p video quality. Test your internet connection during different times of the day to establish consistency, as network congestion can drastically affect performance. Additionally, invest in a quality router that can handle multiple devices without compromising bandwidth. Place the router close to your streaming station to minimize latency and packet loss. If your connection is inconsistent, consider utilizing Quality of Service (QoS) settings on your router, prioritizing traffic for streaming devices. This adjustment can help maintain a stable bandwidth during your broadcasts. Continuous monitoring with speed test tools can also provide insights into potential fluctuations in connectivity or speed. With a solid internet connection, viewers will experience fewer interruptions, ensuring a smooth and engaging live stream that retains their attention.
Engaging with your audience during live streams is essential, and having an interactive setup can pull viewers in more effectively. Consider using a secondary screen, either monitor or tablet, to track live chat and feedback without disrupting your streaming experience. This allows you to respond to viewers in real-time, enhancing engagement and connection with your audience. Additionally, tools that integrate with your streaming software, such as alerts for new followers and subscribers, will help keep the energy alive. Plugins for chat moderation can help you manage discussions actively while you focus on primary content delivery. Having an interactive overlay with viewer polls or questions can also significantly increase engagement rates. Facilitate an open communication channel, allowing viewers to voice their opinions freely to create a community atmosphere. Encourage viewers to share their experiences and feedback, which promotes viewer loyalty. Designed correctly, your interactive setup can create memorable moments that resonate with audiences long after the stream ends. Ultimately, making your broadcasts engaging will encourage repeat viewers and growth in your subscriber base.
Final Launch Preparations
Before going live, final preparations can be crucial for an optimal streaming experience. First, conduct test streams to troubleshoot technical issues and assess your audio-visual setup. This process will help identify any discrepancies in video quality, audio levels, or performance hiccups, allowing ample time for solutions. Perform several dry runs with friends or family to gather constructive feedback on presentation style and technical aspects. Ensure that all software is updated and that you have proper settings configured in your streaming platform. Check your lighting and framing to verify all visual elements are properly set up before broadcasting. Always have backup plans in place, including alternative equipment or internet sources in case of emergencies. Using a backup generator or a mobile hotspot can be a wise choice if power outages are common in your area. Familiarize yourself with the platform’s features to maximize functionality during the live stream. By preparing extensively, you enhance your chances of delivering a professional-quality live stream that captivates and retains your audience’s attention from start to finish.
Finally, consider promoting your streaming sessions across various platforms to maximize outreach and audience engagement. Use social media platforms like Instagram, Twitter, and Facebook to inform followers about the upcoming live streams. Share teasers or snippets of your content to generate anticipation and excitement. Engaging graphics or countdowns can help grab attention and encourage viewers to tune in at the scheduled time. A visually appealing announcement enhances professionalism and builds your brand presence. Moreover, collaborate with fellow streamers or content creators to broaden your audience base. Hosting joint streams or guest appearances can be beneficial by introducing your channel to new viewers. Use dedicated streaming platforms’ built-in promotions tools to notify subscribers, facilitating a seamless connection. Consider interacting personally with your audience in the moments leading up to your stream, making them feel a part of your community. Once your stream is live, maintain an active presence in the chat, responding and acknowledging viewers to foster community engagement. All of these strategies can significantly enhance your visibility while ensuring a successful and enjoyable streaming experience.