How to Set Up and Use Ring Lights for Video Shooting
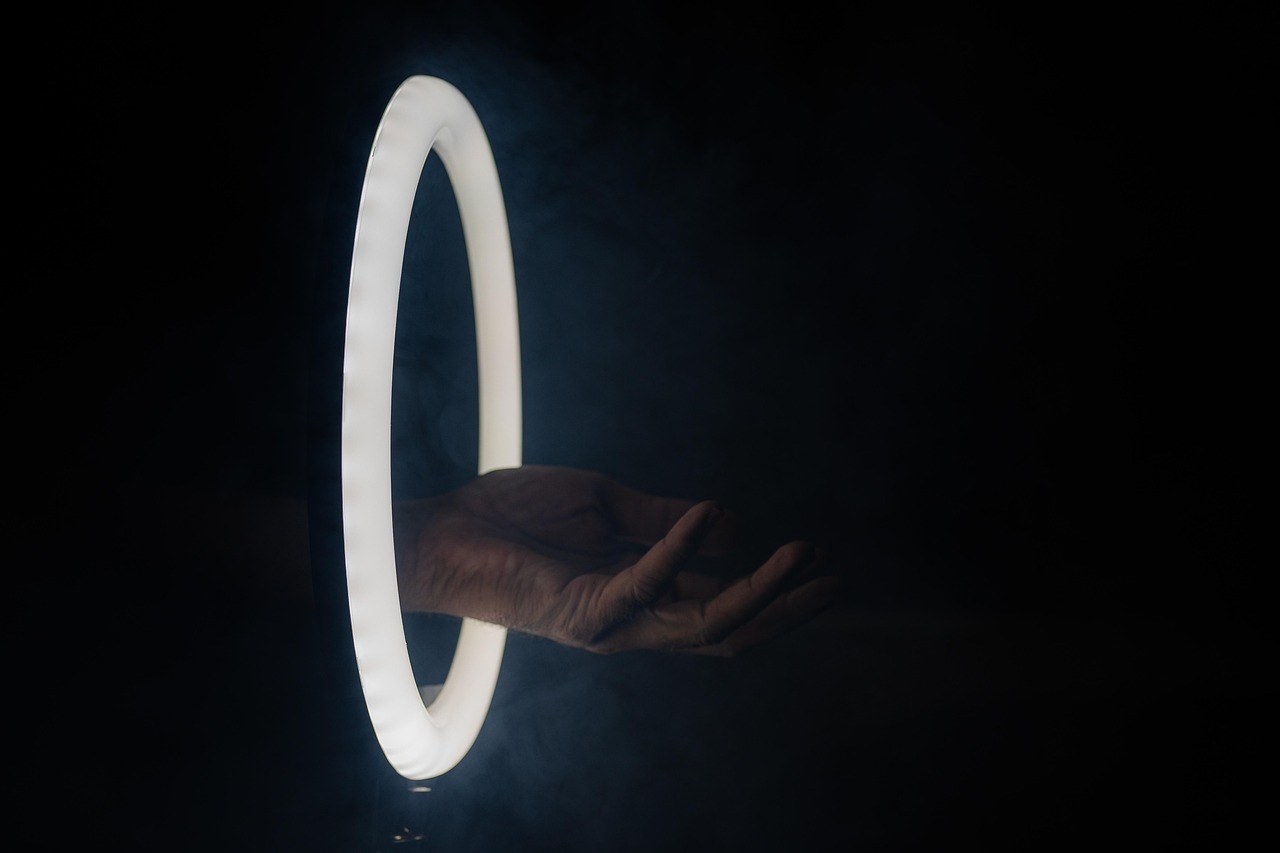
Setting up your video environment effectively can make a significant difference in production quality. A ring light is an excellent tool for achieving even lighting and creating a professional look in your videos. To start, you need to choose a suitable ring light that fits your shooting environment. Look for a model that offers adjustable brightness and color temperature settings. Understanding how to position the ring light is crucial; it should be placed at eye level to illuminate your face evenly. Consider factors like the distance from the camera and the surrounding environment. Additionally, the use of a diffuser can soften harsh light and improve the overall aesthetic. Ring lights can also help reduce shadows, making your video look crisp and clean. This is particularly important for makeup tutorials, video blogs, or any content where your face is the focal point. To get started, consider your camera setup and lighting needs. Remember, the right equipment combined with thoughtful positioning ensures the best outcome for your video shoots.
Another important aspect of using a ring light is understanding how to adjust brightness levels. Many ring lights come equipped with a dimmer switch or remote control, allowing you to tailor the light intensity to your preferences easily. It’s essential to test different brightness levels during your video shoots to find what looks best on camera. Too harsh of a light can wash you out, while too dim can result in a dull video. For optimal filming conditions, try setting your ring light at around 50% brightness to start. Depending on your background and other light sources, you may want to increase or decrease this setting. Additionally, consider using color filters for more stylistic videos. These filters can dramatically change the mood by warming or cooling the light’s hue. Experiment with different combinations to create engaging content that keeps your audience interested. It’s also useful to maintain a consistent setting with lighting because fluctuating light can be distracting for viewers. Always remember to periodically check how you appear on camera as you shoot.
Choosing the Right Ring Light
Choosing the right ring light is essential for getting the best results in your videos. There are various types on the market, ranging in size, features, and price points. Standard ring lights average between 12 to 18 inches in diameter, but larger models are available for professional setups. When considering your selection, factors such as portability and adjustable height should be analyzed. A lightweight and adjustable ring light is beneficial for travel and different shooting scenarios. Some ring lights also come with tripods, making it easy to set up wherever you film. Quality should also be prioritized; high-quality lights produce better color accuracy and longevity. Read customer reviews to understand their performance in real-life applications. Make sure the light source has a color temperature range of approximately 3000K to 6500K for versatility, accommodating various filming needs. Furthermore, ensure that your chosen light includes a power supply option, whether a battery pack or AC power. Prioritize your shooting needs and select a ring light that complements your video creation process.
Once you are set with your ring light, placement becomes a vital element in your filming process. Position the light at a 45-degree angle from your face. This angle helps to create depth and dimension in your video rather than a flat appearance. Experiment with placement; sometimes, even a slight adjustment can yield significant changes in lighting quality. You can also try positioning the ring light slightly above eye level, which can minimize shadows under your chin and provide a flattering glow. If you have a background that may require illumination, consider adding a secondary light source to balance out the exposure. This could be an additional light or simply repositioning the ring light to cast some light in the background. Always be mindful of reflections, especially if you wear glasses, as they may cause glare. Adjust your angles and positions to minimize such issues. Testing various dimensions during practice sessions helps determine what works best in post-production, ultimately improving your viewer’s experience.
Utilizing Accessories with Ring Lights
Accessories can enhance your ring light experience and elevate your video production. One popular accessory is a smartphone holder or camera mount. This allows you to position your device centrally within the ring light, providing even illumination as you shoot. Some ring lights also offer additional features such as built-in phone holders or gooseneck mounts for flexibility. Additionally, light diffusers can significantly soften the light output. This is essential in reducing glare and creating a more flattering appearance in your videos. Consider investing in colored gels or filters to change the light’s temperature for specific moods or effects. Using these accessories gives your video an artistic touch that keeps your content fresh and engaging. Furthermore, additional softboxes can help distribute light across a broader area, great for group shots or larger setups. Enhancements through these accessories ensure a professional look, making your project stand out. Explore options and create a setup that amplifies the cinematic quality of your videos.
After your video shoots, reviewing the footage can help determine if your lighting settings met expectations. Take time to observe how the ring light affected video quality, shadows, and highlights. Any inconsistencies can inform future adjustments, ensuring better lighting in your upcoming content. Maintain a consistent frame of reference by reviewing footage under various conditions. This could mean filming at different times of day to see how ambient light changes the appearance of your ring light. Additionally, consider gathering feedback from trusted sources or peers regarding your video quality. Constructive criticism can provide valuable insights into aspects you may overlook. Perhaps, they might notice shadows or areas needing improvement. Always be willing to adapt and refine your approach towards lighting and video quality. Maintaining a learning mindset is critical for continuous improvement. In the realm of video shooting, lighting can significantly influence viewer perceptions and engagement, emphasizing the necessity of mastering this skill.
Final Thoughts on Ring Light Usage
In conclusion, incorporating a ring light into your video shooting setup can dramatically enhance your content’s quality. This tool helps create professional-grade videos with proper lighting, resulting in energetic and engaging outcomes. Be sure to explore various ring lights and experiment with their features to find the best fit for your needs. Each video shoot is an opportunity to refine and improve your skills. Through thoughtful placement and effective accessory usage, you can achieve dazzling lighting effects that captivate your audience. Remember, the primary goal is to engage viewers and create content that resonates. As you develop your lighting techniques, explore different styles and narratives, keeping your audience intrigued. Take into account the importance of feedback and gradual enhancements. Slowly evolve your equipment as your skills progress. An awareness of lighting nuances will serve you well, enhancing your overall video production journey while allowing you to portray your unique style effectively. Enjoy the process as you continue creating memorable content, and make your mark in the YouTube community.